
Journal
How to Choose Between Hands After the Charleston

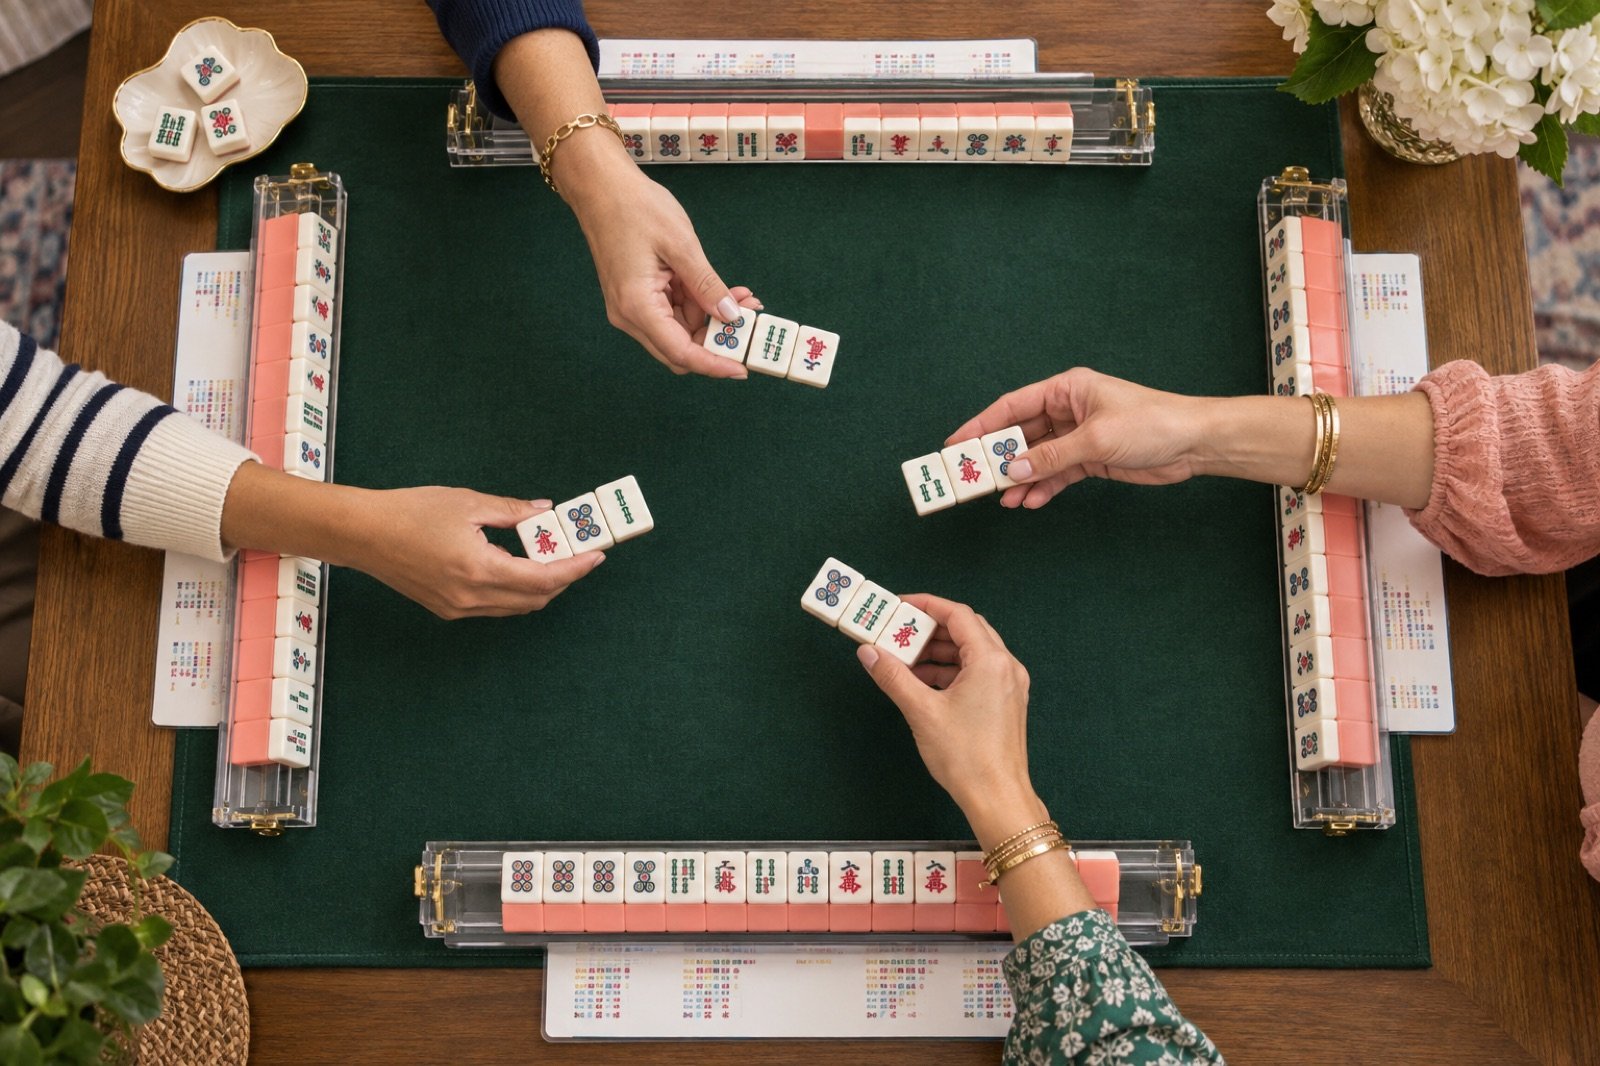
You do not need to commit to one line at the first pass. After the Charleston, the useful question is which two or three card lines your rack supports with the fewest difficult gaps and the most shared tiles.
Compare candidate hands by counting natural pairs, required singletons, suit flexibility, shared tiles, and how many exact pieces are still missing. Prefer the line that stays viable after one bad draw rather than the line that looks closest only on paper.
Start with the hardest pieces
Pairs and singletons are often harder to complete because jokers generally cannot substitute for them under common NMJL-style rules. Identify which candidates already contain those natural tiles. A hand with more total matches can still be weaker if it lacks a critical pair.
Mark required flowers, winds, and dragons separately. Their availability and flexibility differ from numbered suit tiles.
Find overlapping candidates
Look for two or three lines that use many of the same tiles. Shared even numbers, consecutive runs, or a repeated suit pattern let you delay commitment while the wall reveals more information.
A candidate that requires an immediate complete suit change is less flexible than one that can absorb several upcoming draws.
Count distance honestly
Count every missing tile, but give extra weight to exact pairs, fixed singletons, and tiles that appear heavily exposed elsewhere. Do not count a joker as a solution before you know the grouping can legally accept one.
Also notice how many current tiles become dead weight if you choose a line. Keeping ten matches is less useful if four other rack slots cannot transition.
- Natural pairs already held
- Required singletons
- Tiles shared by several candidates
- Suit and number flexibility
- Visible exposures and discards
- Legal joker opportunities
Use table information carefully
Exposures and discards tell you what has already appeared, but they do not reveal every concealed tile. Treat them as probability clues, not proof. A needed tile may still be live even if none has appeared.
Avoid rearranging your rack into an obvious card pattern where other players can read your plan. Organize for your own scanning without broadcasting exact group sizes.
Set a decision point
Choose a leading hand after the Charleston, then keep one backup as long as the overlap remains useful. Reassess when a key pair arrives, an opponent exposes several needed tiles, or your rack accumulates too many pieces outside the plan.
Good play is not stubborn commitment. It is a series of clearer decisions as new information appears.
Frequently asked questions
Should I choose a hand before the Charleston?
Usually it is better to identify several possibilities and let the passes clarify which line has the strongest support.
What should I prioritize after the Charleston?
Prioritize natural pairs and singletons, overlapping candidates, flexible suit choices, and the number of difficult exact tiles still missing.
When should I abandon an American Mahjong hand?
Reconsider when key tiles appear unavailable, a required pair remains unsupported, or another line uses substantially more of your rack.
Sources and scope
Rules can vary by organization and table. Use the current card and official materials selected by your group.
Reviewed for clarity and accuracy in September 2026.